3 Ways to Build Your Own Animation Studio
Curious about making stop motion animations at home? Stop motion animation doesn’t have to be just about making characters come to life in fun and wild ways. It is also a vehicle for storytelling. Is your child studying a chapter in history? Have them translate what they’ve learned through a three scene stop motion animation! Is your child writing their own play and needs some actors? A stop motion animation can be a perfect set for little playwrights. We frequently have teachers plan their lessons around taking a trip to CCM in order for their students to create stop motion animations that bring their curriculum to life. Now, our visitors can create our Animation Lab, at home!
At Children’s Creativity Museum we love using IStopMotion or Stop Motion Studio so that our visitors can easily animate. Luckily, if you have a tablet or an Iphone, you can download these programs at home and animate! If you’d like to take it one step further, we use Garageband to add in fun sound effects and dialogue to our movies, which can add on hours of engaging fun.
If you do have a phone that you plan to use, you’re going to need a way to stabilize your phone while you animate! Try making these 3 simple and effective phone stand designs at home to increase the quality of your close-up animations!
Business Card Animation Stand (Lv. 1)
Materials:
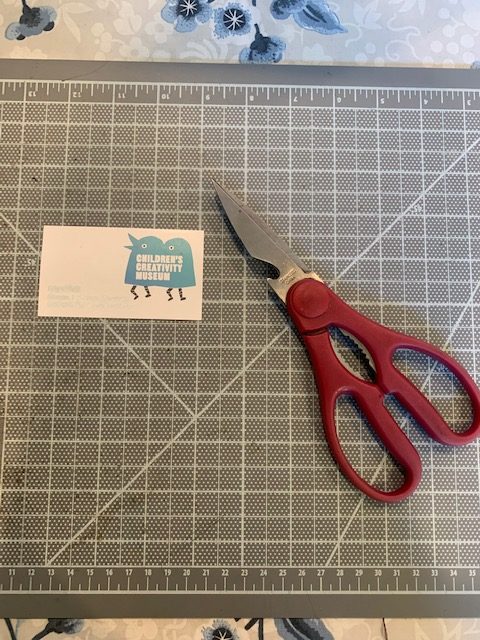
- 1 Business Card
- Scissors
- Magic marker
Instructions:
- Gather some scissors, a business card, and a magic marker
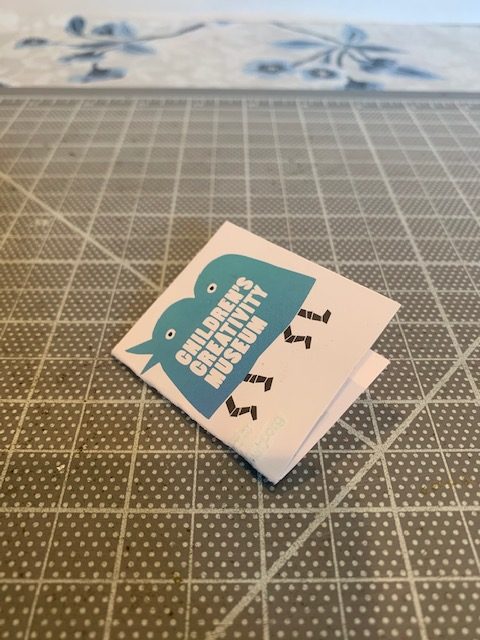
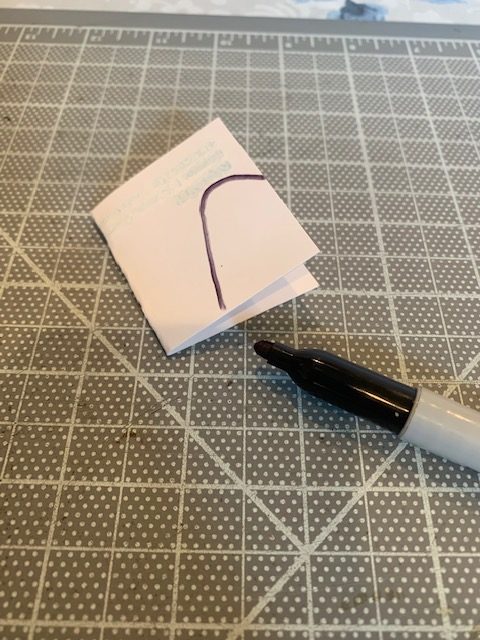
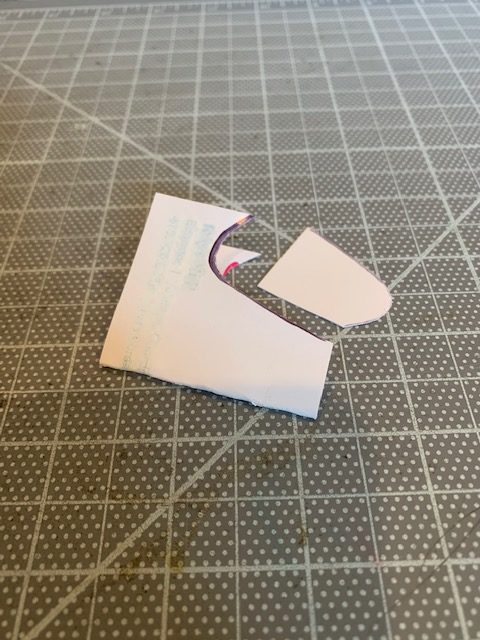
- Next, fold the business card over, and draw a line similar to the one pictured
- Cut along the line through both sides of the card
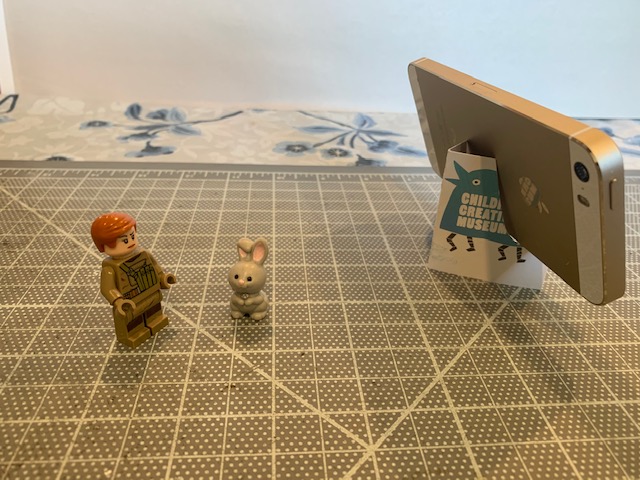
- Open the card up, and place your phone within the notches
- Time to animate!
Paper Cup Animation Stand (Lv. 2)
Materials:
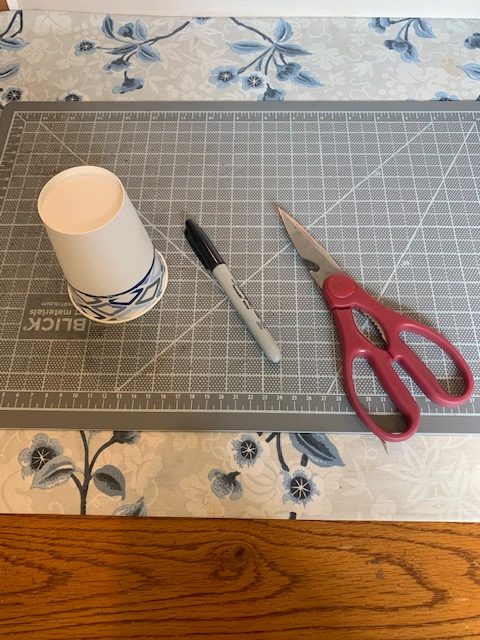
- Paper cup
- Scissors
- Magic marker
.
Instructions:
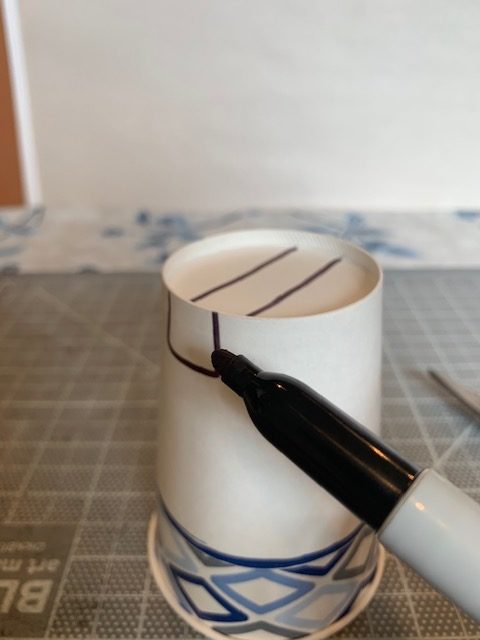
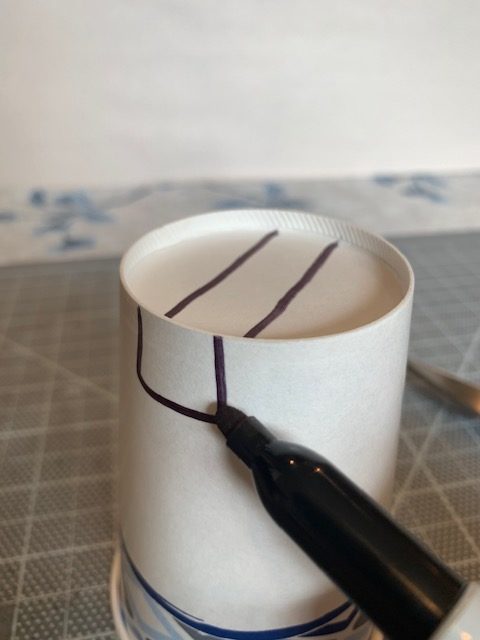
1. Draw a rectangle on the bottom of your cup (as pictured)
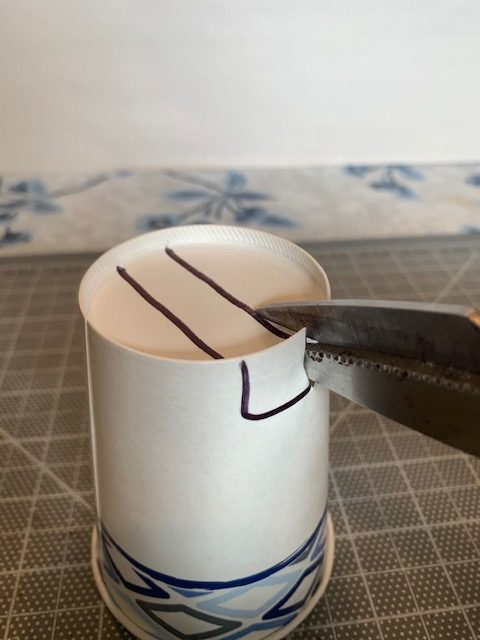
2. Cut out the rectangle you drew with a pair of scissors
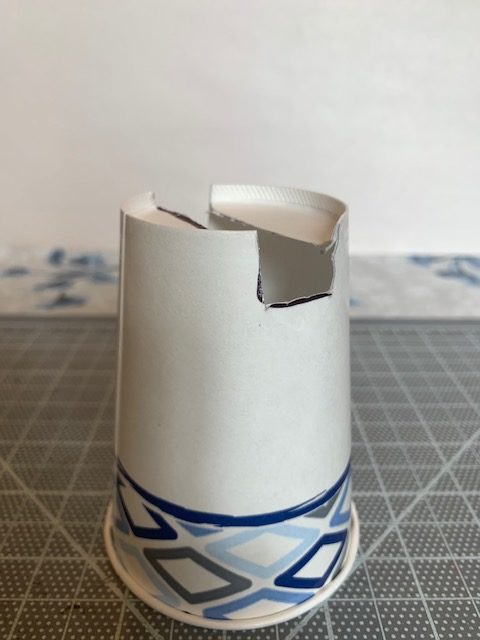
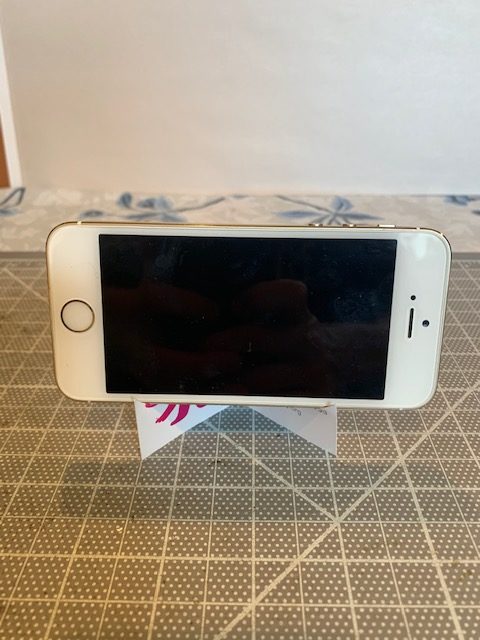
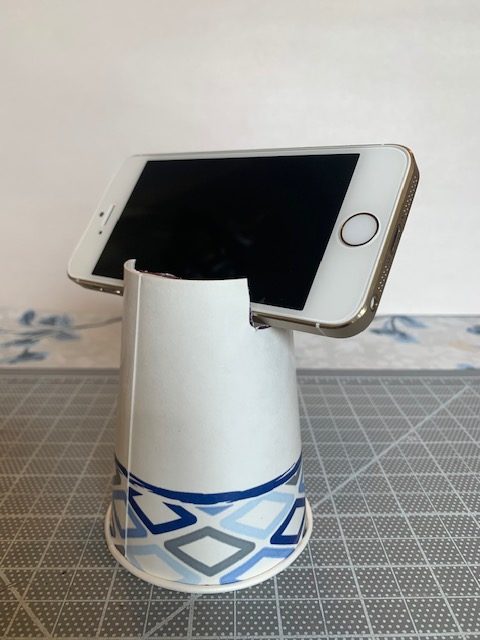
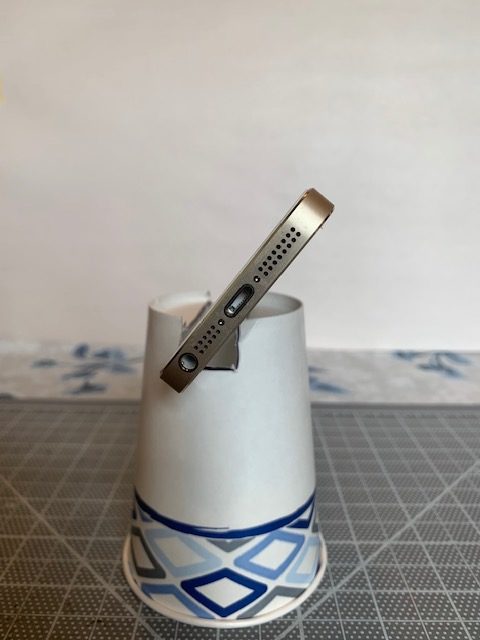
3. You should get something that looks like this! Place your animation capturing device in the slot, and start animating!
Paper Tube Animation Stand (Lv.3)

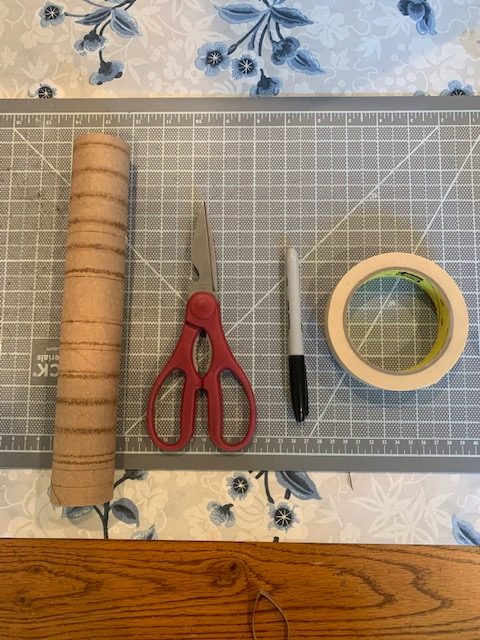
Materials:
- Paper towel tube
- Tape
- Scissors
- Magic Marker
Instructions:
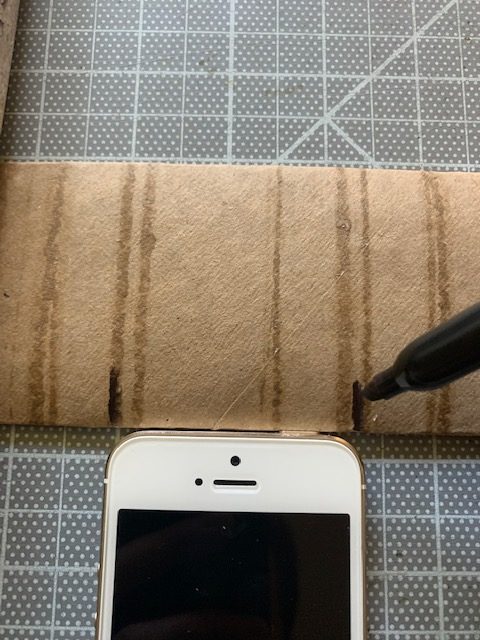
- Flatten your paper towel roll and draw two lines to match the width of your animation capturing device.
2. Cut two slits a half inch away from your markings on the tube. Fold up the cardboard section when finished.
3. Cut towards the line you made previously on both sides, but be sure to not cut past those lines.
4. From there, cut two lines towards the center of the tube. This will be there your capturing device sits in the stand, so be sure it is wide enough.
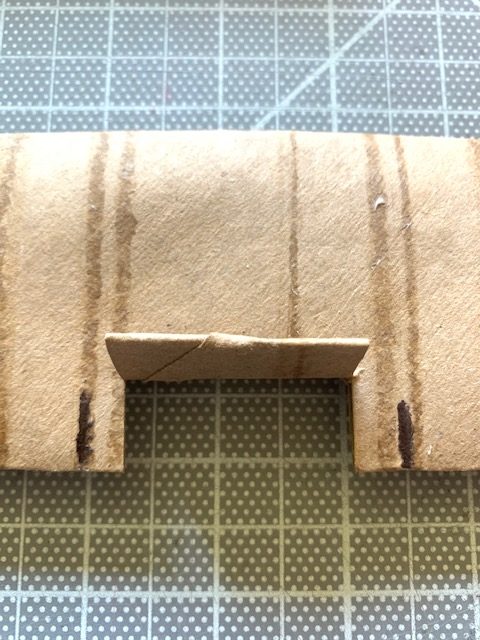
5. Fold up the section you’ve just cut, then trim it off (pictured) At this point, slide your capturing device within the notches you’ve just cut out to make sure it fits. Trim more of the tube off towards the center if necessary.
6. Cut a 2.5-3 inch section of tube from one side. This section will be used to support the main tube.
7. Cut a slant at one end of the smaller tube, and create a similar cut at the longer end of the bigger tube.
8. Make sure each tube is slanted towards each other, and flat on the bottom. Cut a slit down the middle of the smaller tube, and combine the two tubes as pictured.
9. Finally, secure the two sections together with tape, and make sure the bottom of each tube stays flat on the surface. This will ensure your stand is stable for holding you capturing device.
10. Time to animate! Share with us on social media by using the hashtag #CreativityEveryday or tagging us at @CreativityKids. We’d love to see what you create!


Leave a Reply